Welcome to the third lesson!
The last time we dealt with template installation, adding a logo and menu, and today we are going to edit sections and elements.
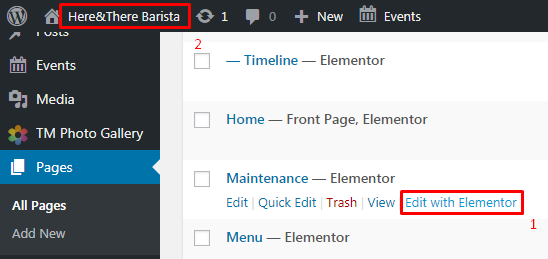
Step 1: Elementor Admin Panel
Luckily, Monstroid includes a cutting edge page builder Elementor for WordPress. It replaces the basic WP editor with a visual one. It means that you can customize a layout without using code or CSS. It allows you to design on the frontend of your site, editing in real time.
Elementor page builder is loaded with a number of widgets that can be inserted into your site’s layout with just one click and modified in the visual mode. Some of the features that you can insert into your site by means of the editor include icons, progress bars, Google maps, YouTube videos, images, text, sliders, columns, sections, etc. While working in the editor, you will be provided with constant access to the left sidebar featuring the settings panel. This is where all the magic happens. With just a single click on any of the theme elements, you can adjust the size, colors, content, and other characteristics of multiple elements in the visual mode.
There are two ways to open the Elementor admin panel: you either open the page from the Page tab or go to the website itself. In both cases you should click on ‘Edit with Elementor’.
You will see a list of widgets on the left sidebar to drag-and-drop to pages, but let’s start with some of the bigger elements such as sections. Right click on a section you want to edit and choose an appropriate action. In the left panel, find the necessary tab and change everything you need.
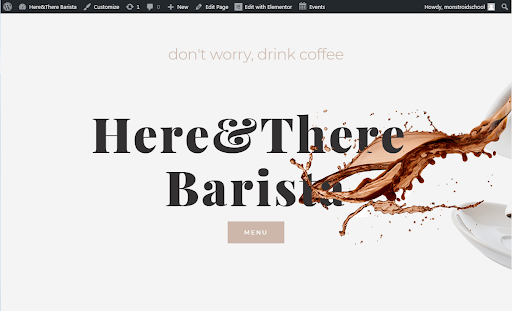
For example, I want to replace the large title with a new one. I go to Jet Parallax tab and change the default picture with my own .png image with the name of the cafe. Jet Parallax is a premium plugin for Elementor which is also included in Monstroid. The add-on is equipped with everything needed to create eye-catching parallax effect on multiple layers, with completely customizable effects, triggers, and settings.

I also customized parallax for background images in the next section down. In the tab ‘Style’ you can change background color or image. You can play with different colors and effects, but I’ll leave the preset color scheme, because I am totally in love with the template’s design. Monstroid is an optimal solution for those who want to have control over the website appearance, but don’t have enough time and passion to customize every button. Everything is already designed for you.
This is how I customized the top section on the homepage:
Step 2: Working with Elements
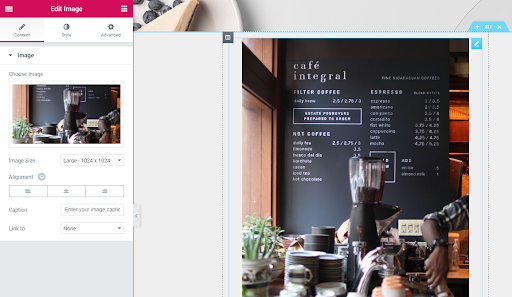
There is nothing special to editing each element. Just the same as other sections, you right click and start editing. You can delete elements or move them to different sections on a page with just a couple of clicks. I changed the default text and pictures on the ‘About us’ page.
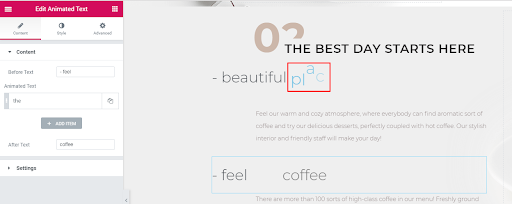
Step 3: Creating Animated Text
Let’s create animated text with the help of the premium plugin JetElements. The good news is you don’t need to buy it – if you use Monstroid, the plugin is already installed to the admin panel. Just scroll down the widget panel to the tab called JetElements and find Animated Text widget via the search bar. Drag-and-drop it to the section. You’ll get a basic design that you can style according to your needs. Apply adjustments to before, animated, and after text components. Remove or rename some of them as needed. Go to the Settings tab, select the appropriate animation effect, split type, and alignment. Navigate to the Style tab to customize before, animated, and after text components.
You will see that creating animated text is quite simple and does not take much time. When you get familiar with the basic settings, you can easily experiment with your version of the text.
Learn more about animated text from this video tutorial:
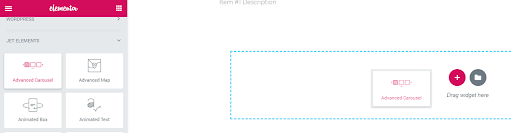
Step 4: Adding Advanced Carousel
Having an overly complicated template can be overwhelming for visitors to look at. Busy templates can cause a lot of issues. One common issue exists when visitors can’t sort through the clutter to find what they are looking for and will leave quickly. That is why I decided to hide the reviews and team members sections from this page for now and add an image gallery instead. (If you wish to hide any block (but not delete it), you just go to advanced settings and turn on/off visibility.) Find ‘Advanced carousel’ in the JetElements section and drop it into the section field.
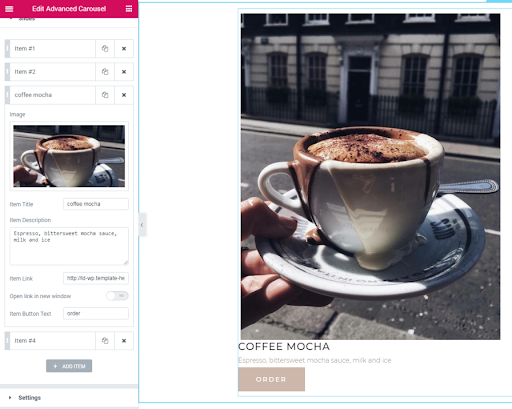
Then I just upload my images to the slides and set up options. Advanced carousel allows you to add titles and descriptions to each item, add buttons, and connect them with the links. Playing with the settings is really interesting and so easy. Look!
See you tomorrow for the next lesson!