Hey!
In today’s lesson we continue to customize website pages.
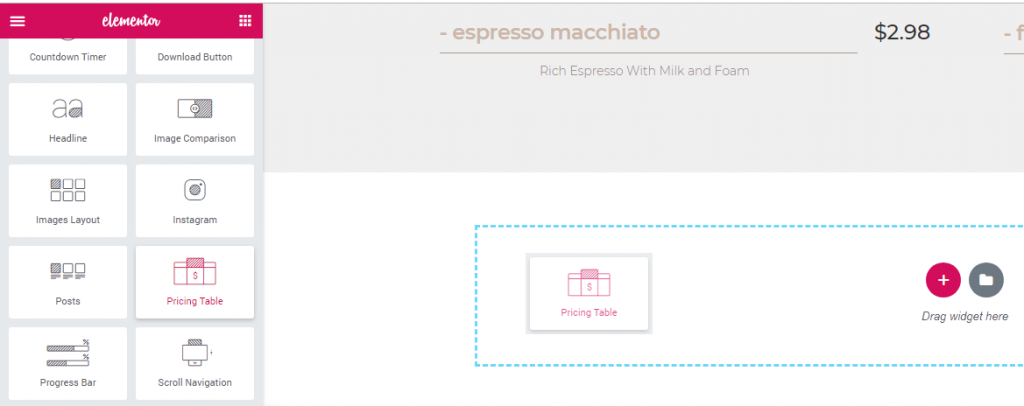
Step 1: Creating Pricing Tables
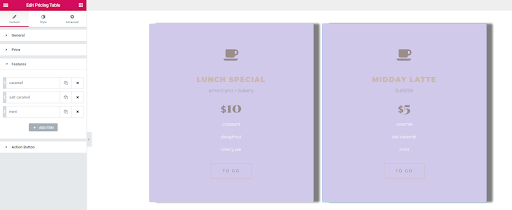
Pricing tables are a good way to highlight your specials. In my opinion, the appropriate place for them is on the menu page right under the menu itself. The creation of pricing tables with the help of JetElements is easy. Drop the widget into a new section. You’ll get a one-column design of the pricing table item. If you want to add more columns you can add them one column at a time. Here, you can edit General settings, Price, Features, and the Action Button.
Go to the Style tab and customize the Table, Header, Icon, Pricing, Features, Action Box, and Action Button. Tweak the background for price, header, or features if needed and highlight included or excluded features by using different colors. Click on the top left corner of a ready-made section and duplicate it as many times as you need and change the values included in the fields. If you want one of the columns to stand out, all you have to do is edit the margin of the selected column.
If you choose another template which doesn’t include JetElements plugin, don’t worry – you can get it here. This awesome tool will be very useful for you when creating a website, as it makes the process as easy as ABC.
Step 2: Adding Events
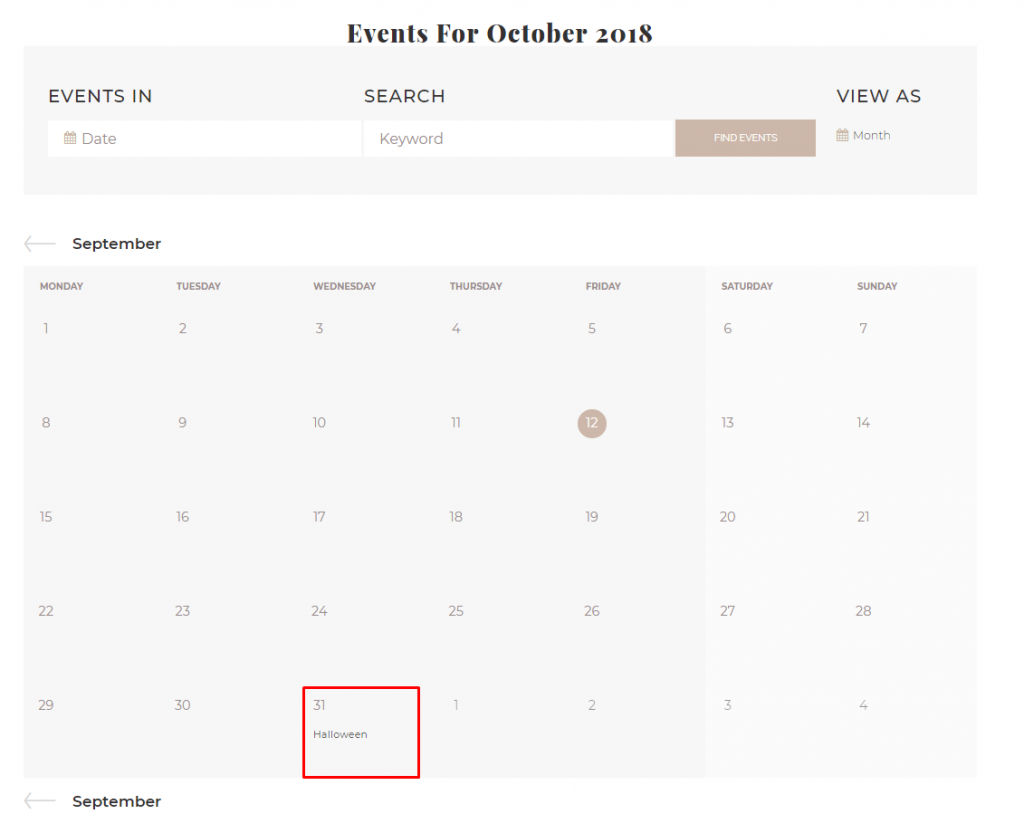
Events are an integral part of any business. Setting up a calendar on your website is a perfect way to get clients to know about upcoming events.
To add an event you should go back to WordPress dashboard (don’t forget to update all the changes in Elementor) and click Add event.
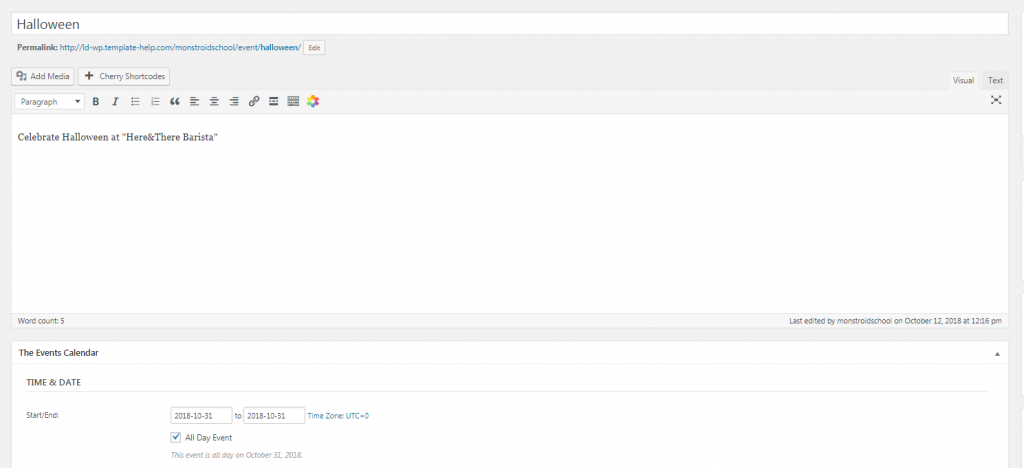
After you enter all the details click Publish. Viola!
Step 3: Testimonials
Open up Elementor editor and create a new section. Navigate to Elements > JetElements tabs > Testimonials, then drag-and-drop the widget to a new section. Go to the Layout tab, turn on Stretch Section, and select Boxed option at Content Width.
Navigate to the Settings tab and apply some changes according to your preferences. Go to the Items tab, choose the necessary quantity of items, apply images and icons to each of them, or leave them as is.
At the Style tab, you’ll find many settings that will help you style and customize the look of your testimonials module.
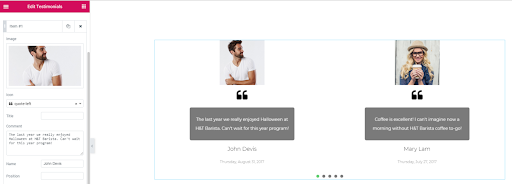
You may see that establishing a Testimonials module with the help of Elementor Page Builder is as easy as pie. All you have to do is just experiment with the style and look, tweaking the settings the way you need.
To consolidate how to create testimonials check out this video tutorial:
Step 4: Contact Forms
Contact forms are a must for any website whether you run a business website or personal blog. WordPress features an excellent contact form. With the help of it you get feedback, support requests, business proposals, and sales requests. Secondly, a contact form filters spam and lets only relevant users get in touch with you. Moreover, it improves conversion rate and decreases your bounce rate, which makes the site’s ranking much better.
In order to create a contact form, you will need several tools such as Contact Form 7 and JetElements plugin. I only need to get the first tool, because I’ve selected Monstroid (remember, Monstroid already comes equipped with JetElements). Keep in mind that you can always set up this plugin separately, if you purchased a template which comes without JetElements.
Monstroid also comes with a premade contact form, but you may need to create one on your own depending on the theme you use. Go to your WordPress dashboard, hover on the ‘Contact’ option and select ‘Contact Form 7’ and create an e-form. Create a new section and split it in two. Then copy the columns and paste them below. Find the Contact Form 7 widget and drag-and-drop it to the new column. After that you’ll be taken to the ‘Edit Contact Form 7’ section. On the ‘Content’ tab, you can select the style in the ‘Select Form’ dropdown.
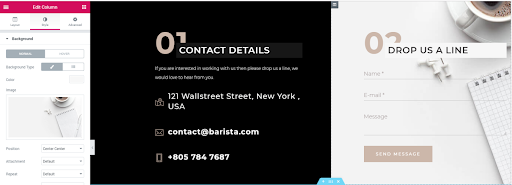
Now go to the ‘Style’ tab. Here you can add a background to your contact form and tweak the typography. In the ‘Controls’ option, you can customize the look of the field and tune up the submit button placed on the bottom of the form. In the ‘Advanced’ option, select the padding.
Here you can watch more detailed instructions in video format: